结账前事件由安装的官方APP ( Axon ) 负责上报
page_view, view_item, add_to_cart结账后续事件由收款插件负责上报 begin_checkout, add_payment_info, purchase
一.点击下方链接,参考applovin官方说明 安装并连接applovin账号
https://support.axon.ai/en/growth/promoting-your-websites/axon-pixel-integration/shopify-integration
二.收款插件配置
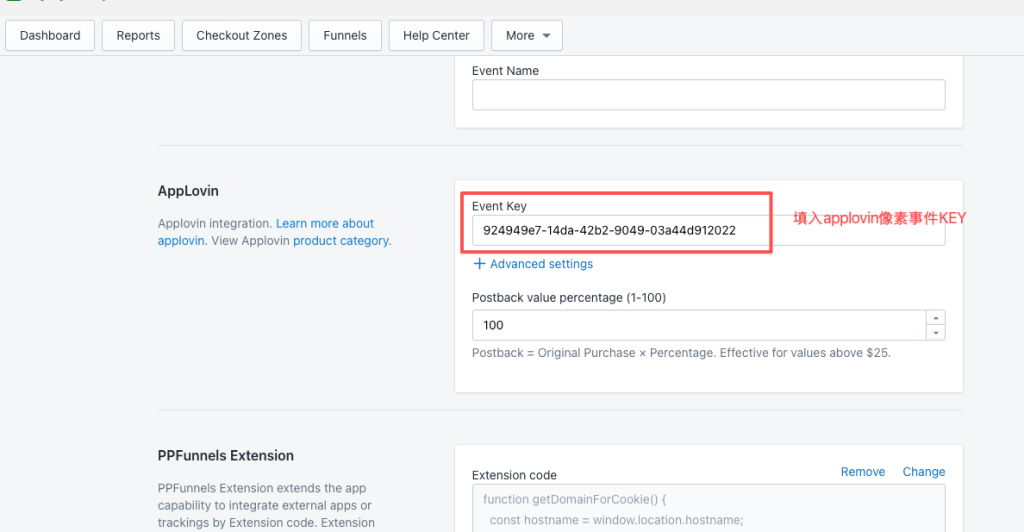
1.收款插件找到 More > Integrations > AppLovin
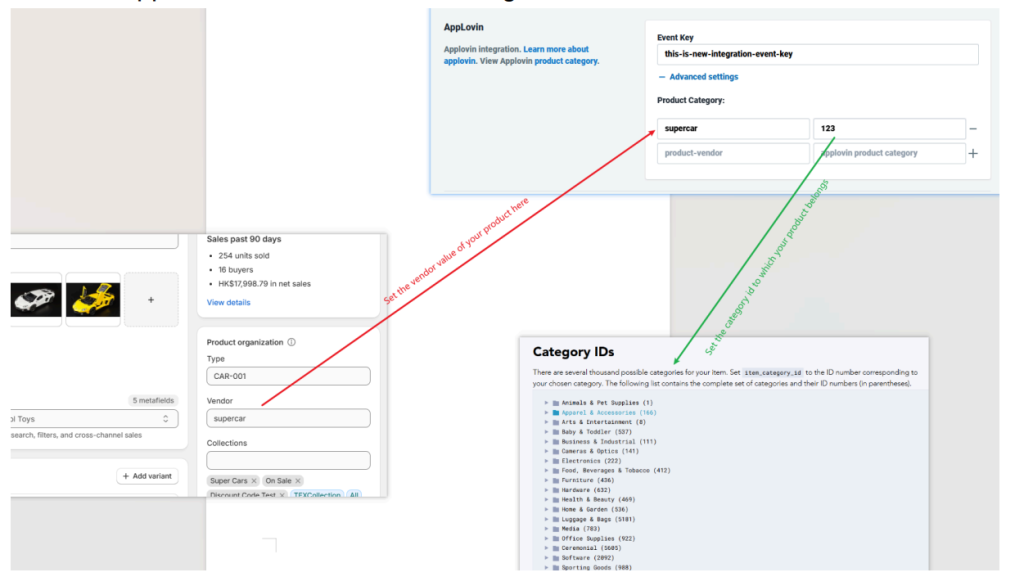
1.1.填入事件ID
1.2.填入产品厂商(vendor) 和 Applovin产品类目ID
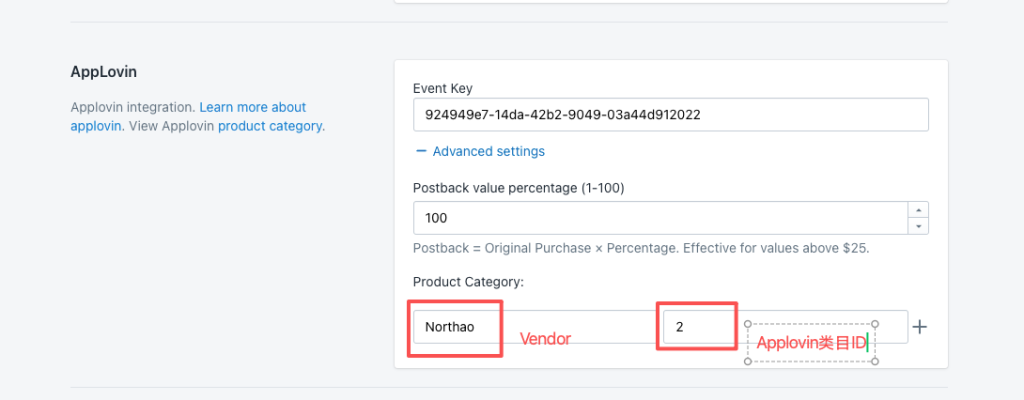
Applovin 类目ID 请到下面的官方文档里面找
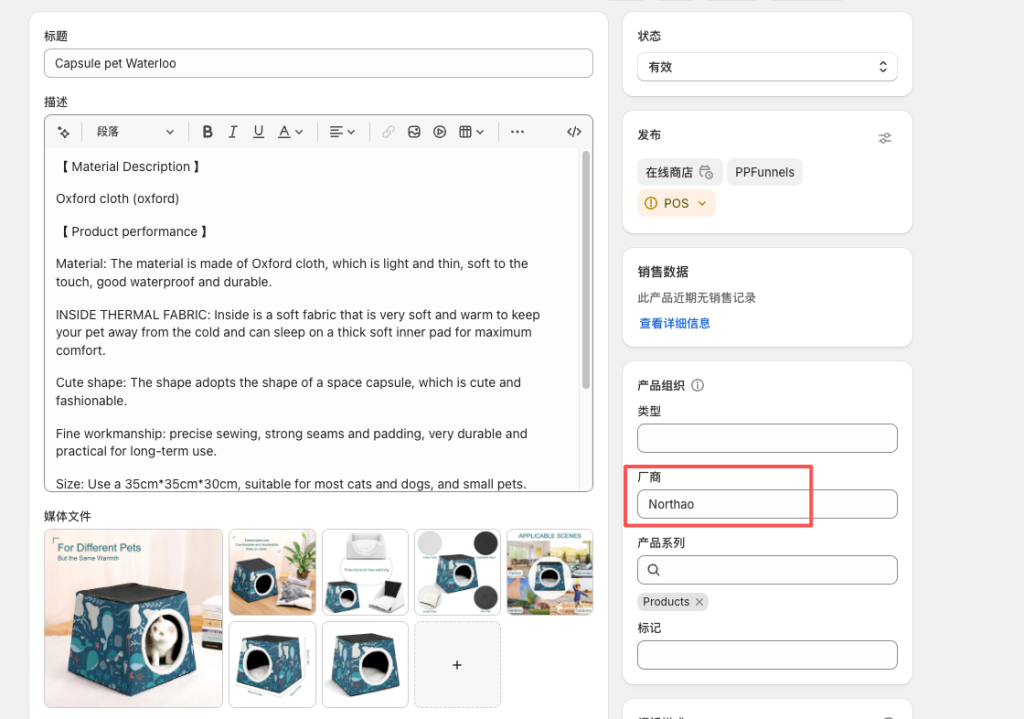
厂商(vendor)请到产品编辑页面添加(名称需要与域名一致)
参数对应如下图所示
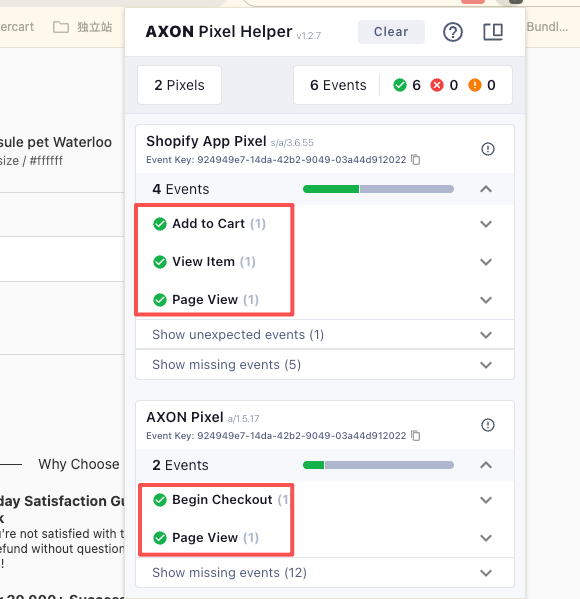
三.安装浏览器插件检查像素是否安装正确
1.安装axon浏览器插件
https://chromewebstore.google.com/detail/axon-pixel-helper/cbnepobjhiakaeolafffknhlmmbhigbk
2.从产品页开始走结账流程,看看像素事件是否都有激活